Downsize Dress Pants From Size 36 to Slim Fit 32
Would you like to learn how to alter the waist on men's pants? One area of my sewing knowledge that I would like to work on is tailoring men's clothes. A while back, one of my husband's friends said something like, "Your wife sews. Can't she just make you a suit?" Umm…no. At least, not yet. Traditional dressmaking and tailoring are two very different skill sets.
I've been sewing patches on uniforms and hemming trousers for years. I became frustrated that the military tailoring service machine-stitched things that should have been hand-stitched. Then I ventured to take apart a suit coat sleeve to add a uniform stripe to the end of the sleeve. Taking them apart made me realize that men's clothes are easier in many ways (more boxy, more straight stitching…). As long as you remember the order that you took out the stitches, putting them back together is pretty simple.

(This post may contain affiliate links, which means I receive a small commission at no cost to you. Thanks!)
A few months ago, I let out a pair of trousers from an old suit. Dress pants are typically easier to alter because they are made with a seam in the back waistband specifically for that purpose. They also have extra seam allowances in the back rise so that the pants can be let out by 2 inches. Finally, the dress pants I have worked with typically don't have a belt loop at the center back seam. You can see below where the old stitching lines were compared to the new line of stitching.
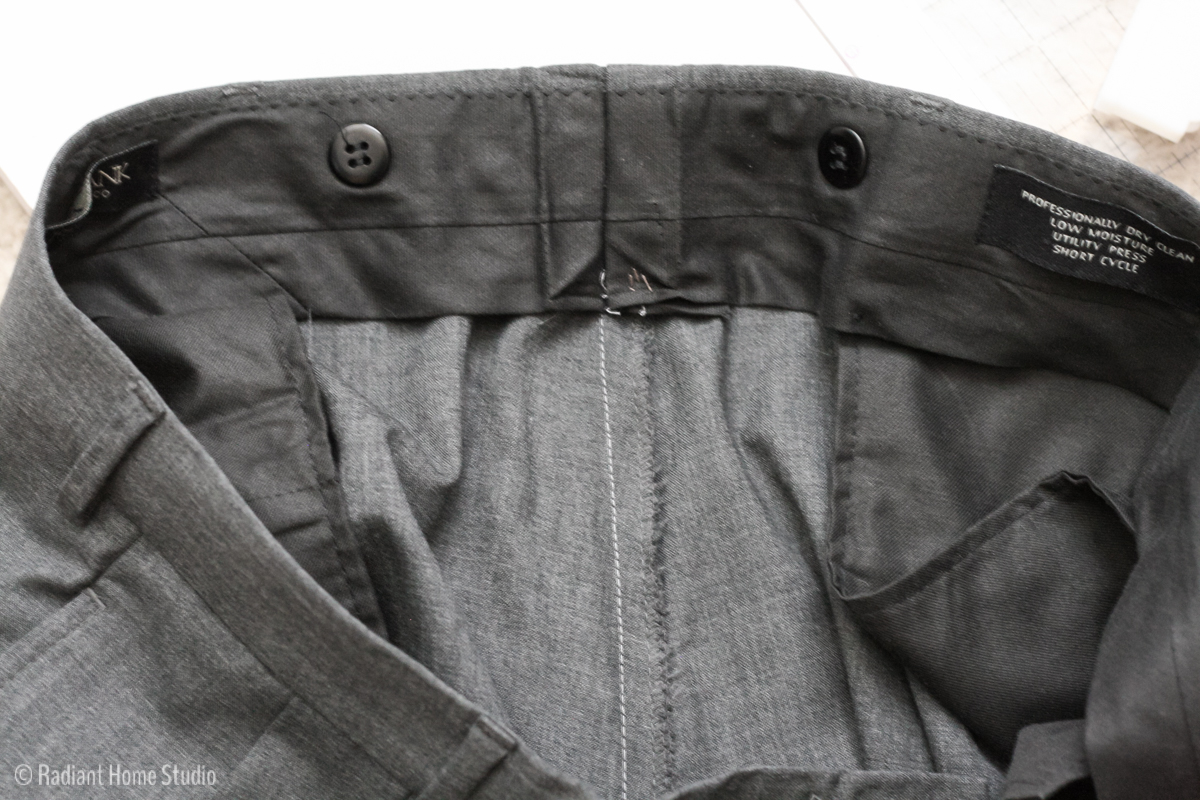
Today, I took in the waist on some casual pants. Ready-to-wear, casual pants won't have extra seam allowances to let out the waist, but you can easily make them a couple of inches smaller.
Though this tutorial shows you how I made the waist smaller in casual pants, you can follow the same process for letting out the waist in proper trousers as well.
I recommend that you have successfully sewn a couple of garments before trying this alteration. You'll need a basic understanding of garment pieces and construction, as well as basic knowledge of your sewing machine and stitches. You'll also need a good seam ripper, some tailor's chalk, and a good pair of sewing scissors.
How to Alter the Waist on Men's Pants:
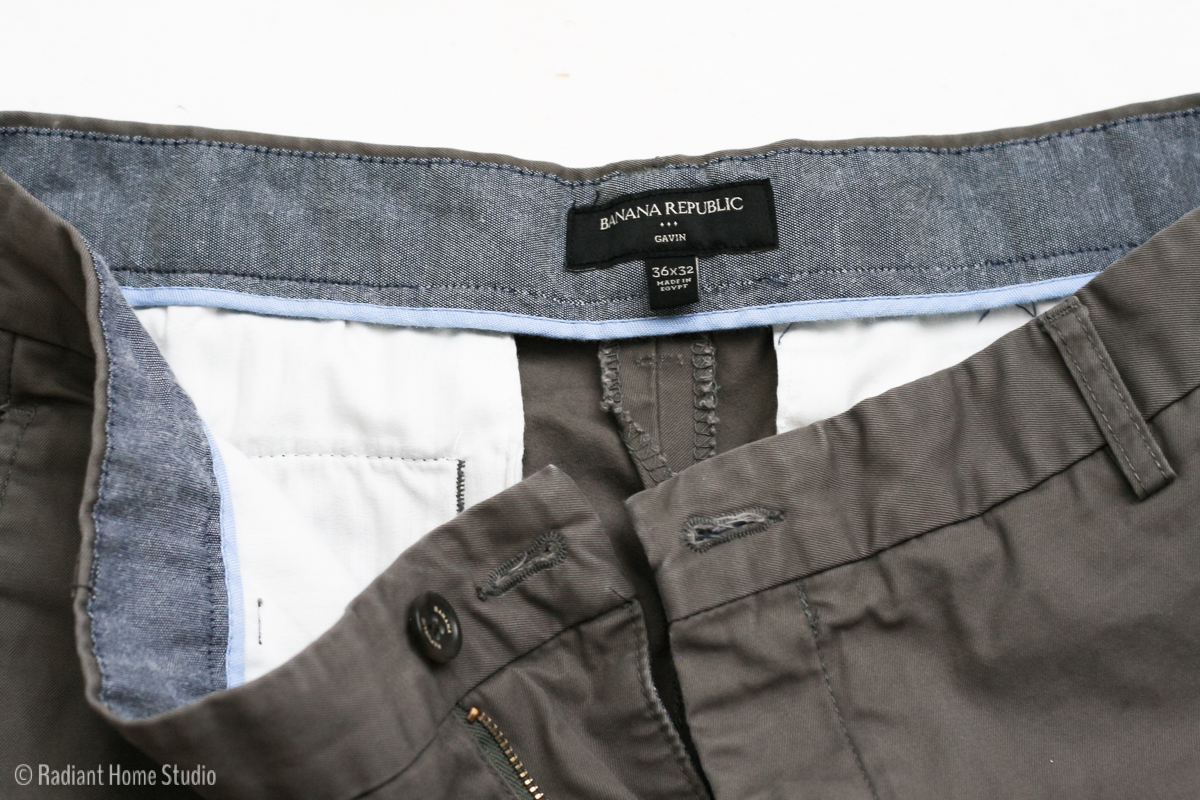
First, start picking out the seam along the waistband. You'll need to take out the stitching about 4 in. on each side of the center seam.

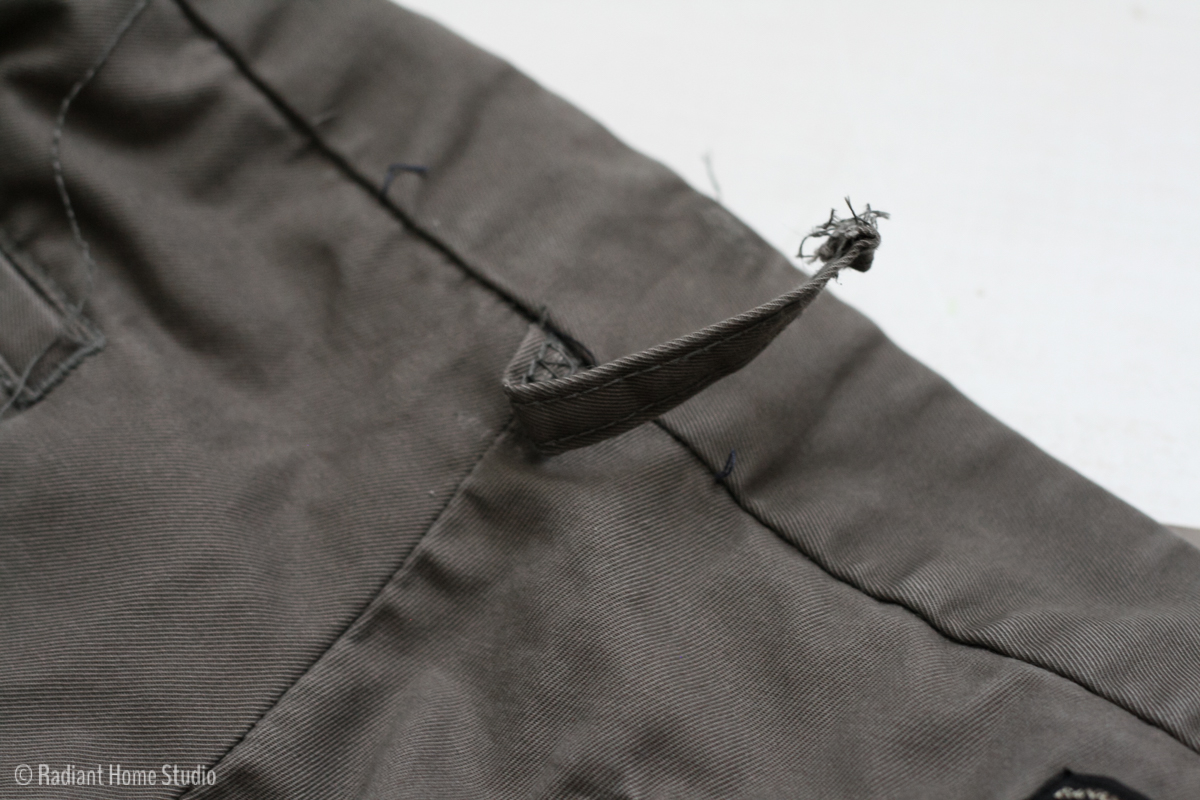
If you have a belt loop in the way, remove that. If you want to remove the tag, do that too.
Turn the pants inside out and place one leg inside of the other. This will give you the best access to the back rise seam.
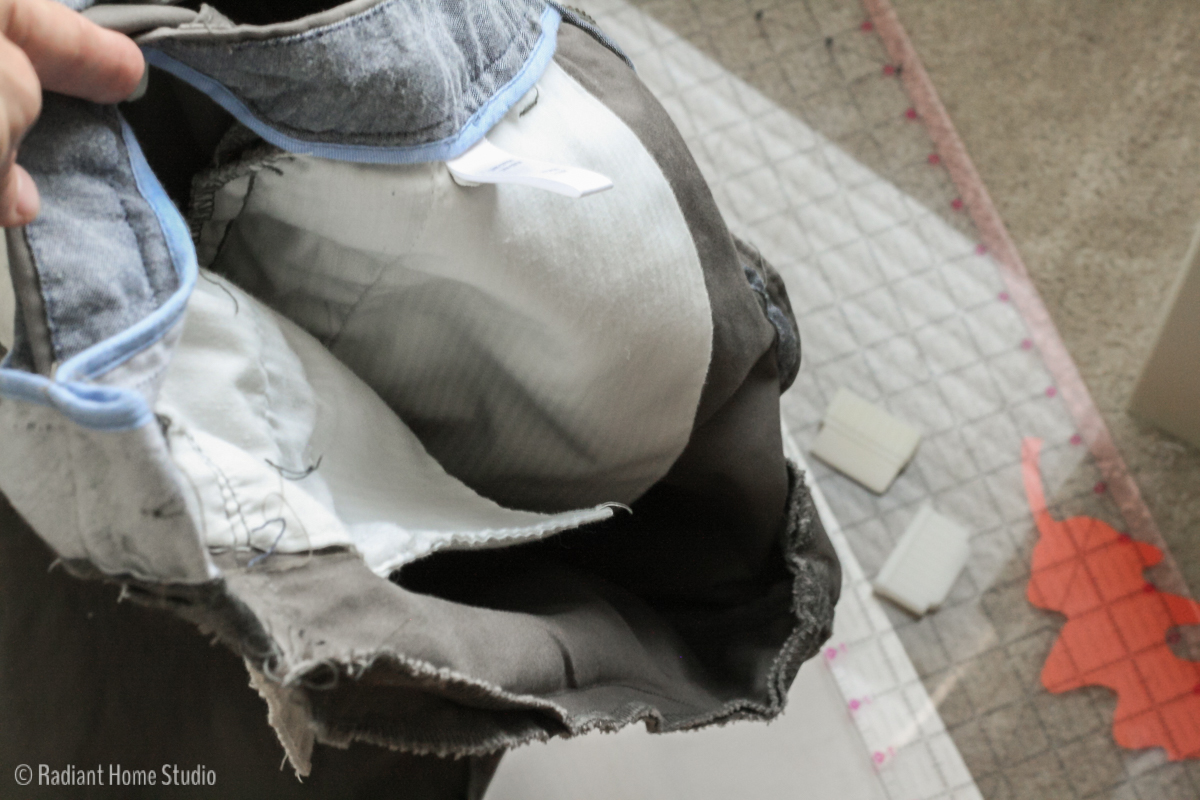
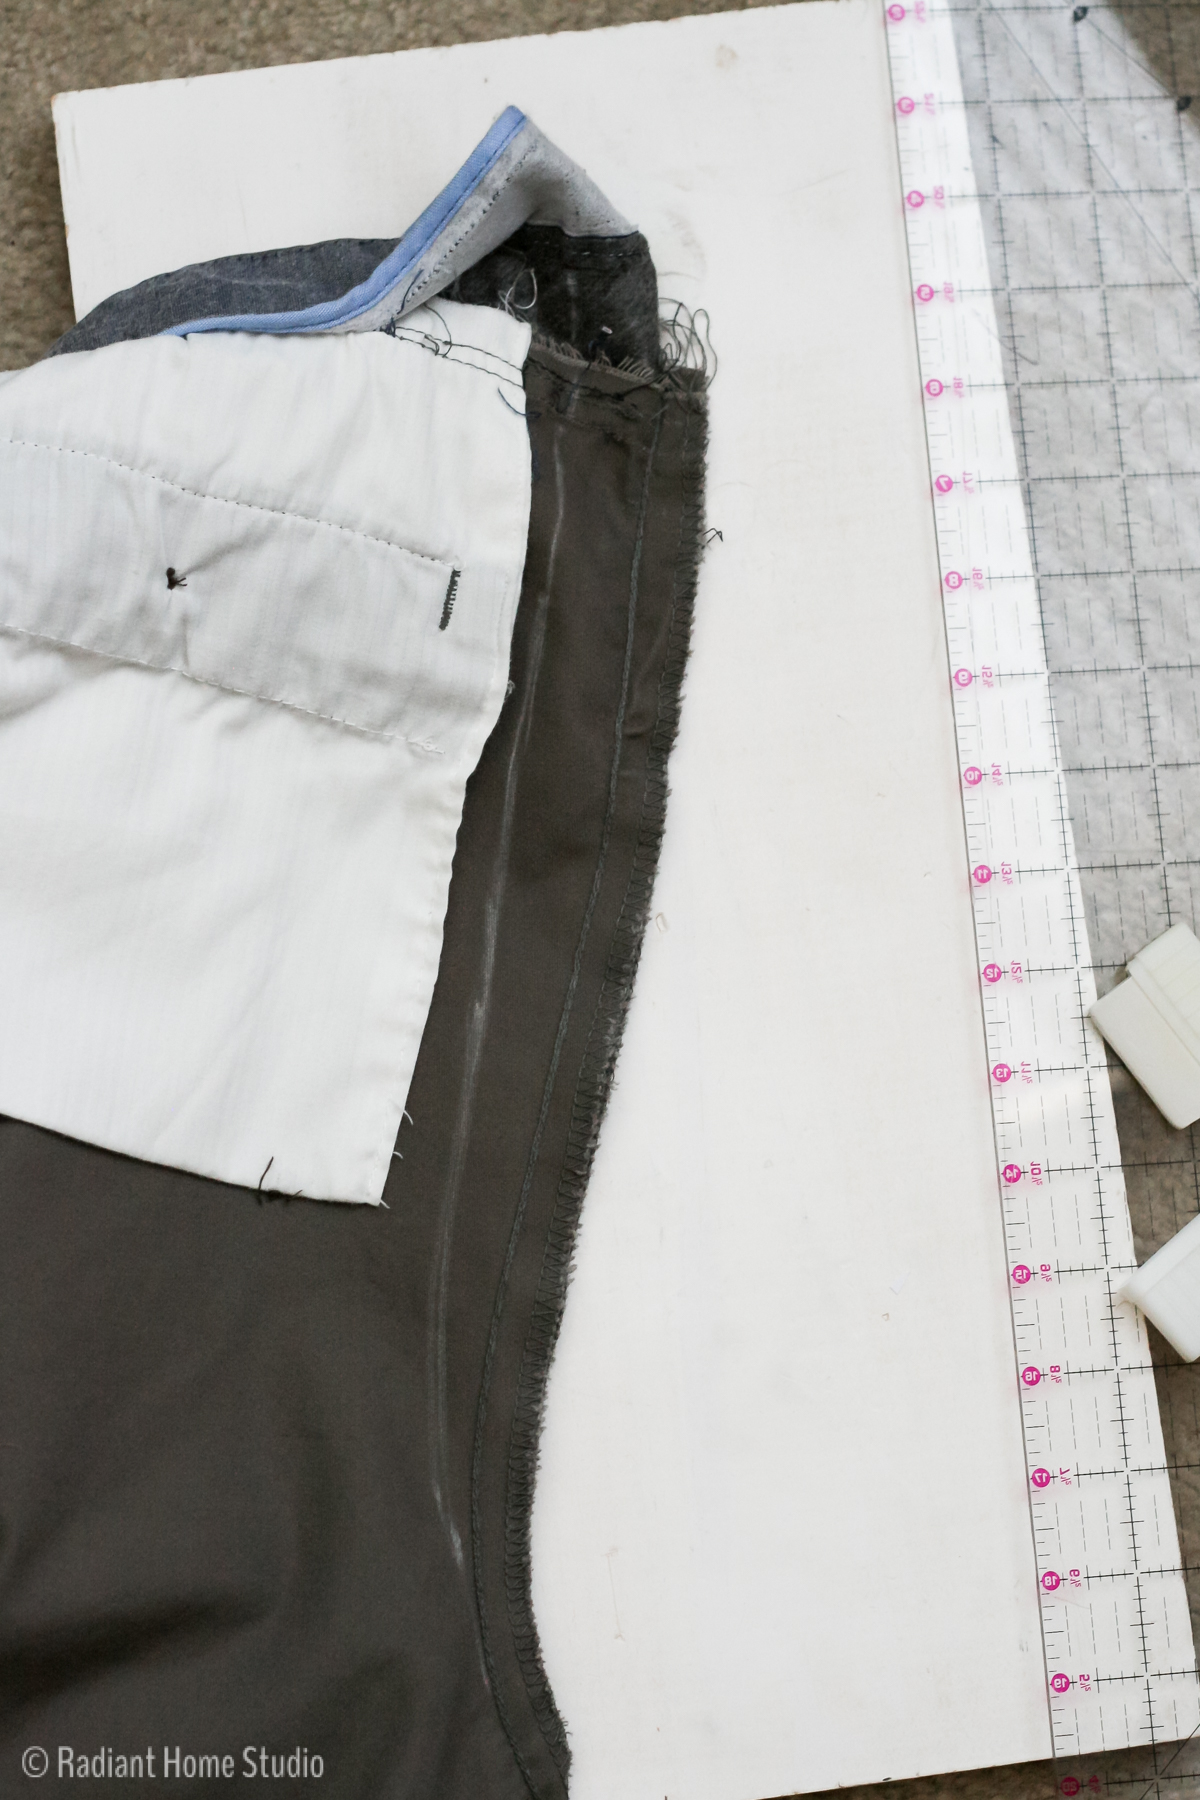
Open up the waistband and press the back rise seam flat. Draw a line using tailor's chalk, starting at the waist and tapering down to the lower part of the back rise seam.
I took these in a total of 2 in. Since you are taking in the material on both sides of the seam, divide the amount you need to take in the pants by 1/2. My line in 1 in. away from the seam. As you can see, you don't want to take them in any more than this. The back pockets will be too close together and you will need to make more alterations to keep the fit and proportions correct.
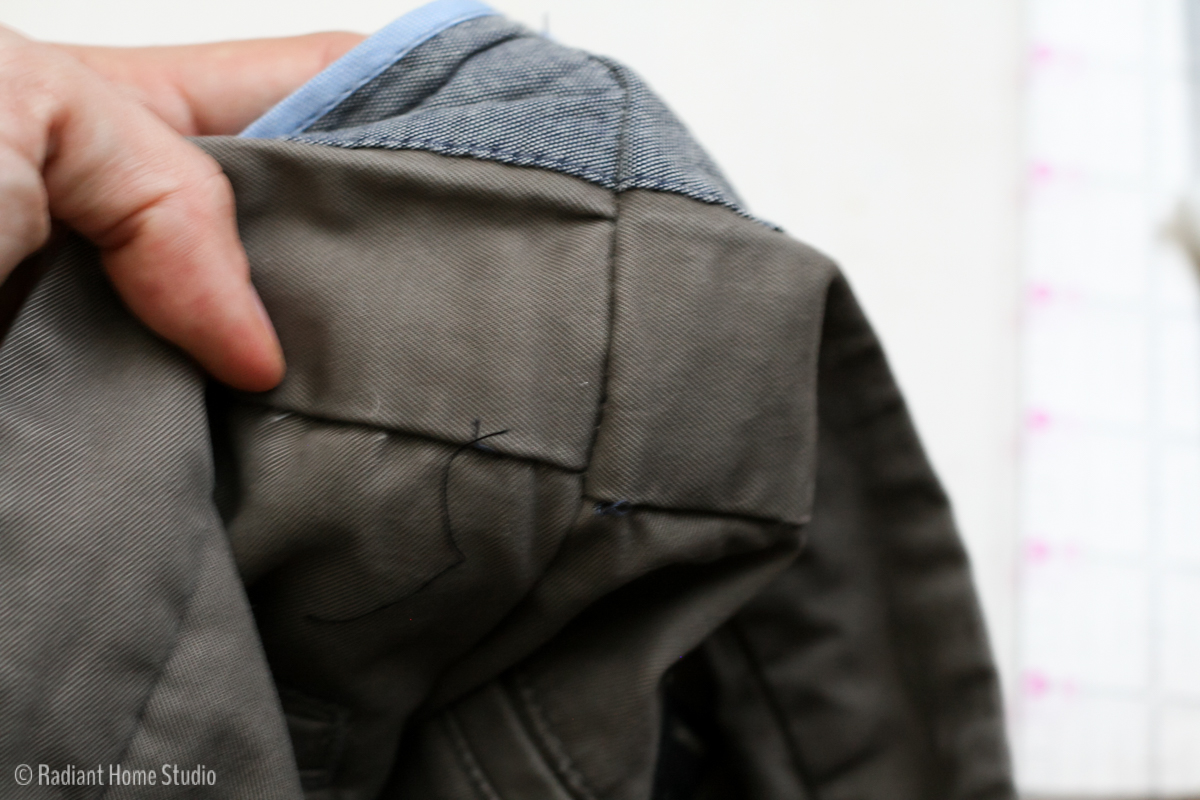
This is important: baste the waistband section before stitching! Let me show you why. This is the first time I basted (pardon the blur)…the seams did not line up properly and the finished alteration would have looked very unprofessional. I took it out and tried again. The 2 minutes it takes to do this extra step is worth it!
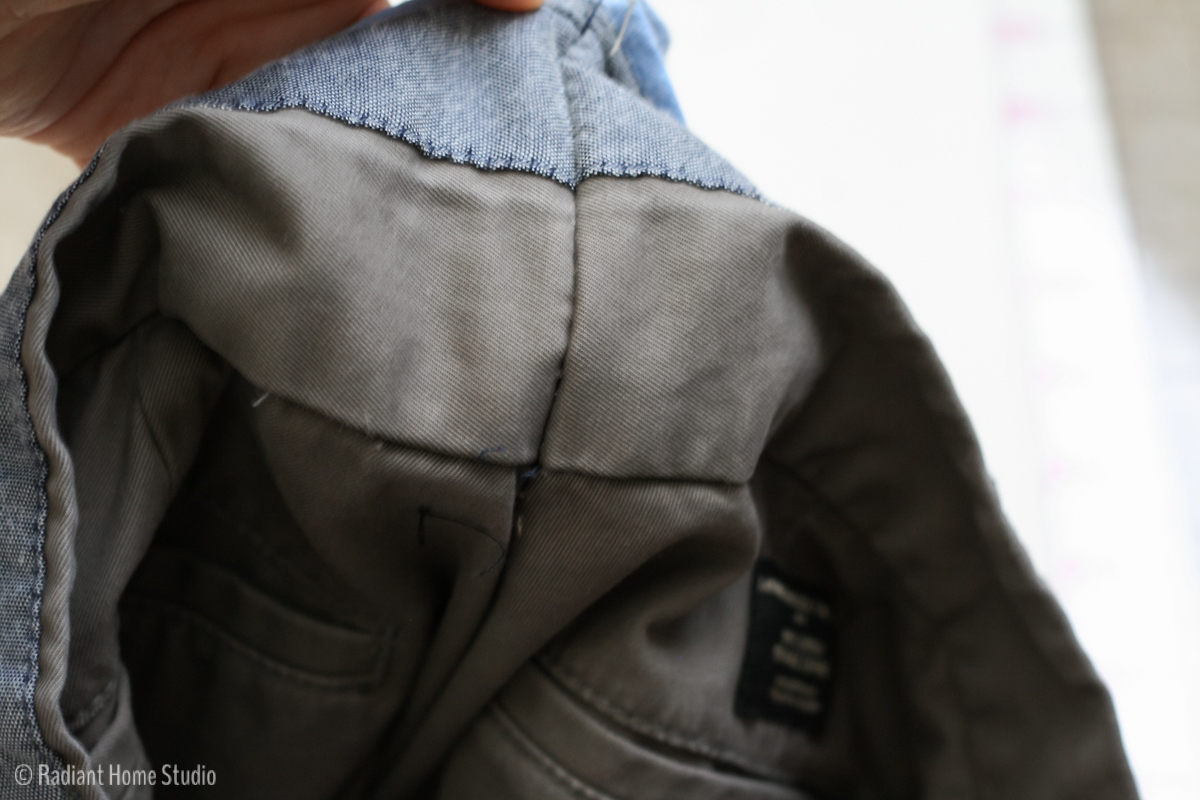
Second time after basting…much better!
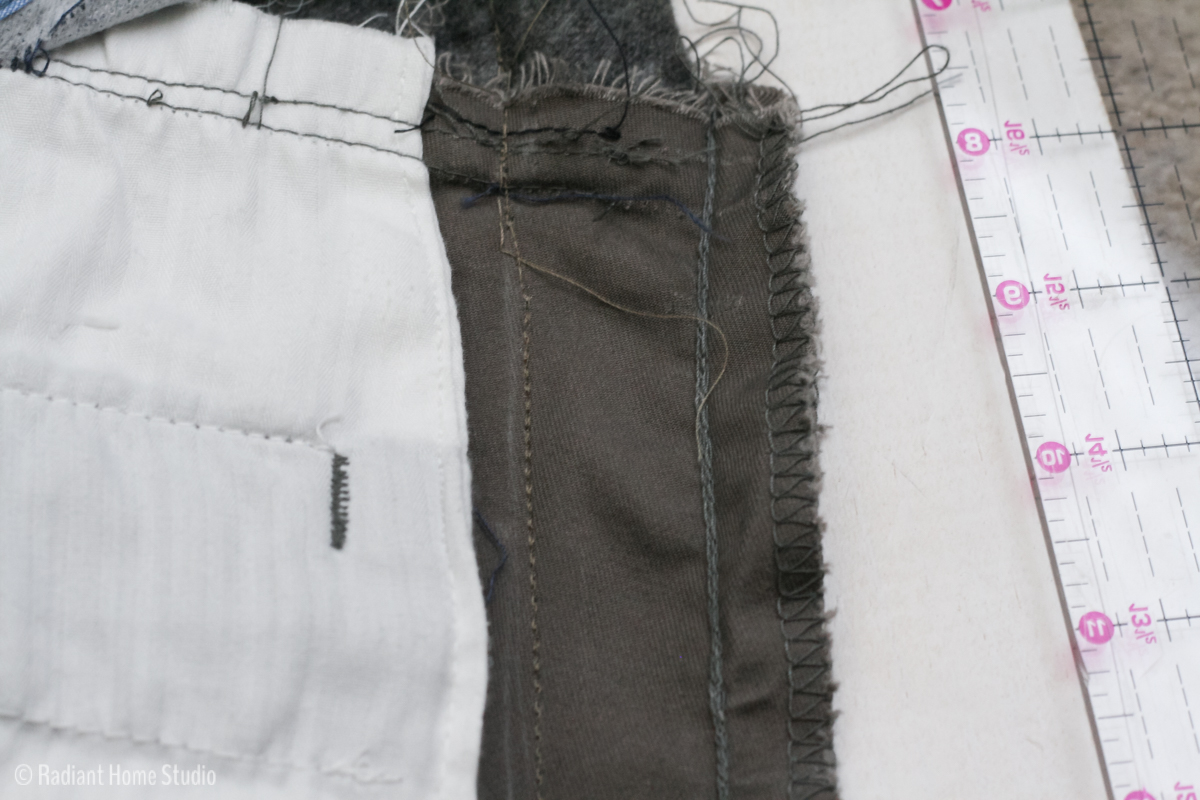
Next, stitch along your chalk line. I noticed that my pants had some type of heavy-duty chain stitching. I think it's important to pay attention to the original details. I'm guessing they chose a stronger stitch to reinforce this seam. You definitely don't want your husband to bend over at work and have the back seam rip wide open! Copy what's there as much as possible.
The closest stitch I could find on my machine is the triple stitch (the illustration looks like 3 straight vertical lines), so that's what I used. Sew along the original stitching line for an inch or so when you get to the end. Make sure you backstitch where the lines of stitching meet to reinforce that spot.
Open it up to see if everything is smooth and straight. If so, you can pick out the original stitches. These pants were not made to be tailored as easily as dress pants, so the waistband didn't have a center seam. I decided to go ahead and cut the waistband at the fold to reduce the bulk. If for some reason I wanted to let the waistband out again, I'd have to make them about 1/2 in. smaller than the original. I'm not planning to do that, but I wanted to leave my options open.
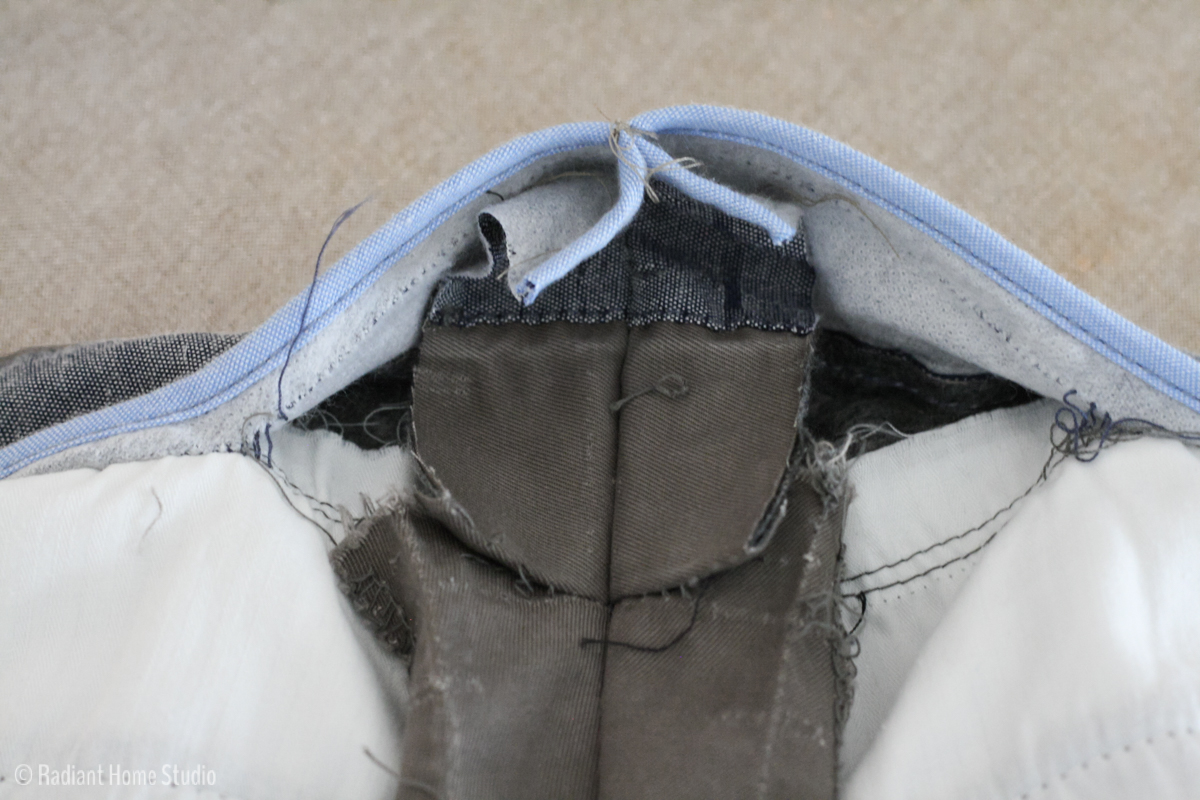
Press the back rise seam open. Pressing well will set the stitches and also give the seam a crisp, professional look.
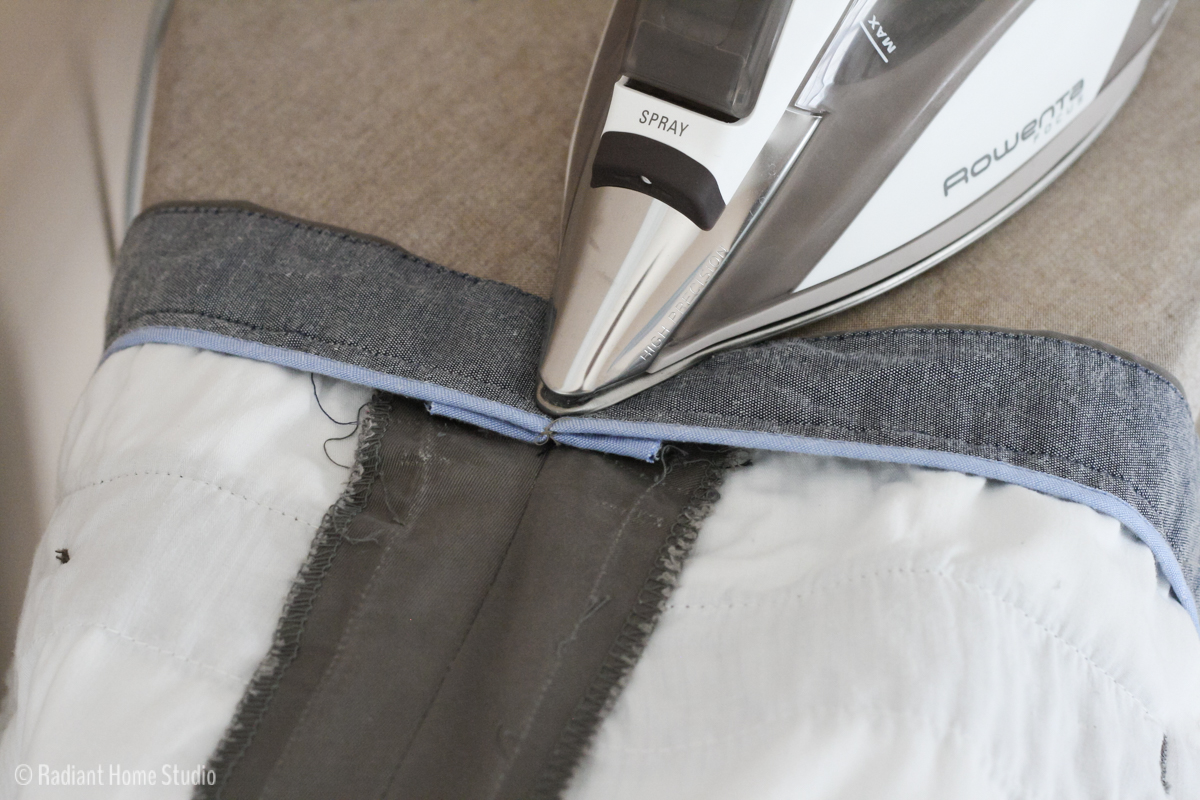
Reattach the belt loop. I chose to place mine to the side of the seam. You could cover the seam, but the result will be more bulk in the seam.

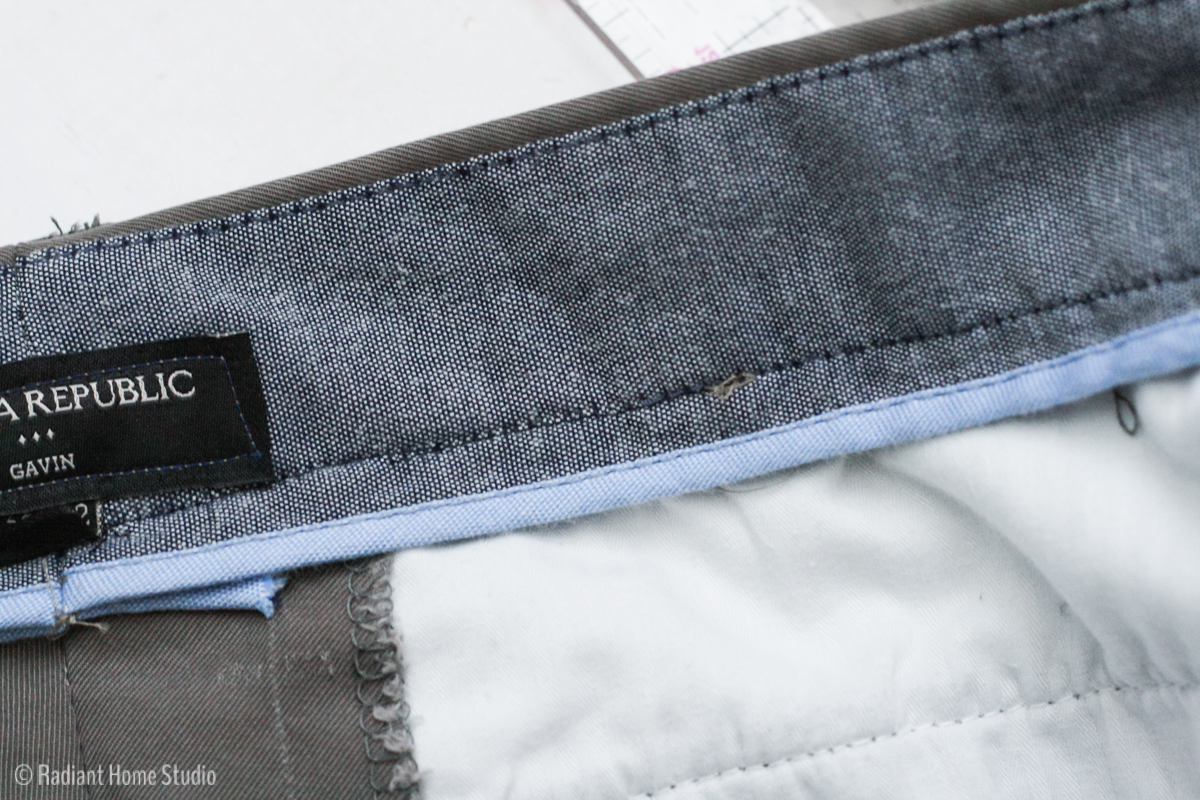
Reattach the tag (just to the waistband facing), if you like. You can use it to help keep the waistband seams flat.
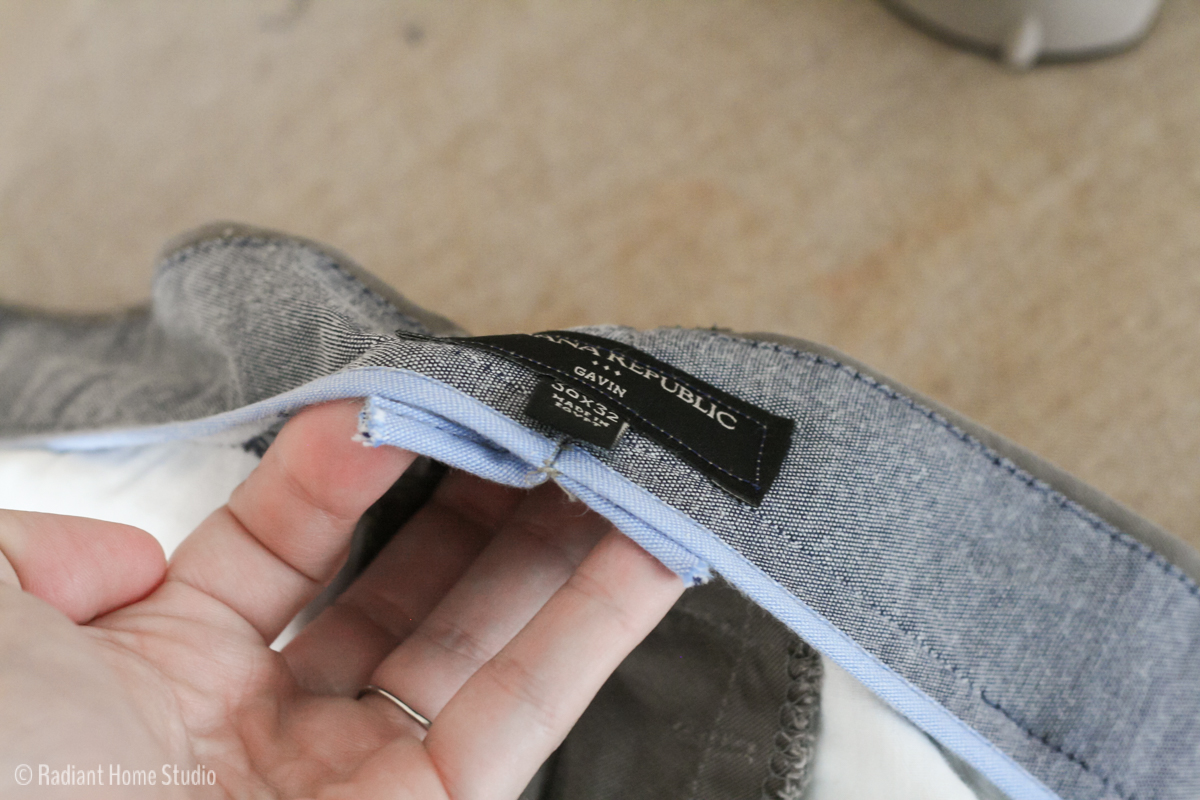
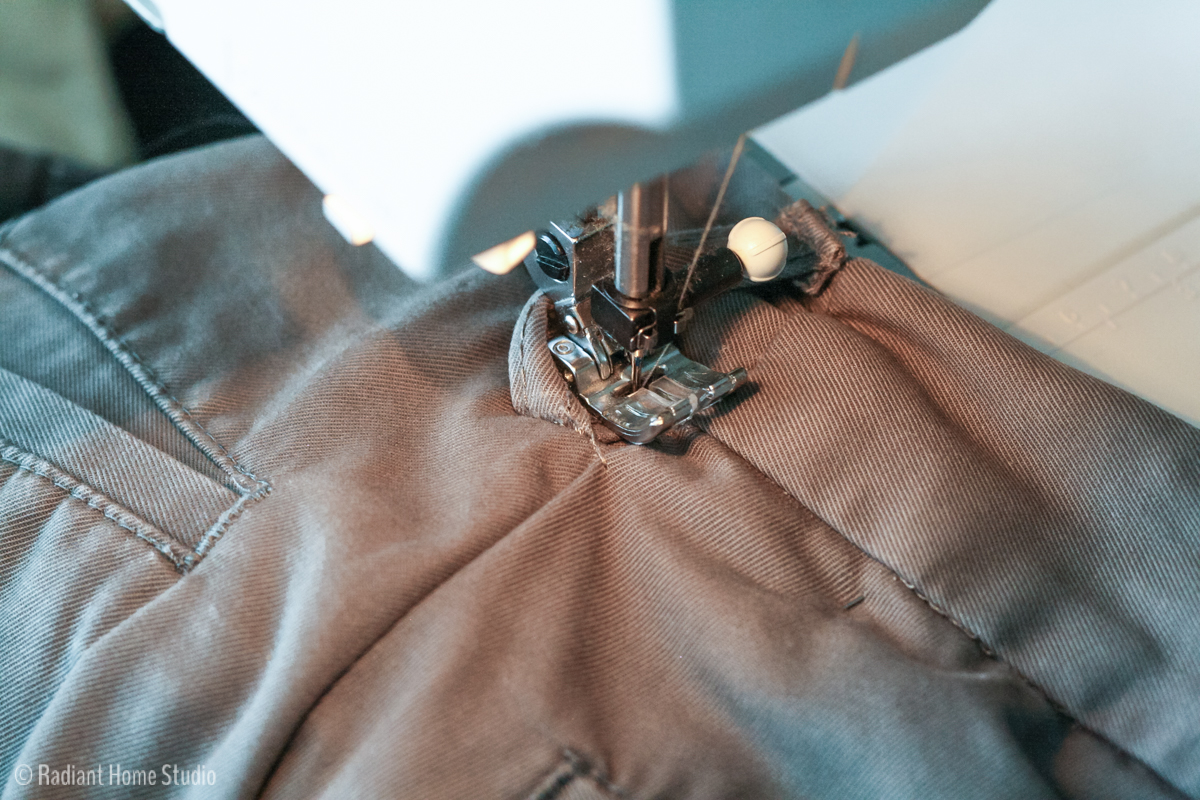
To stitch the waistband back down, use a couple of pins to hold everything in place. Stitch in the ditch (the seam line, where it won't show) on the outer waistband. Be careful not to stitch over the belt loop. Stitch partially under it.
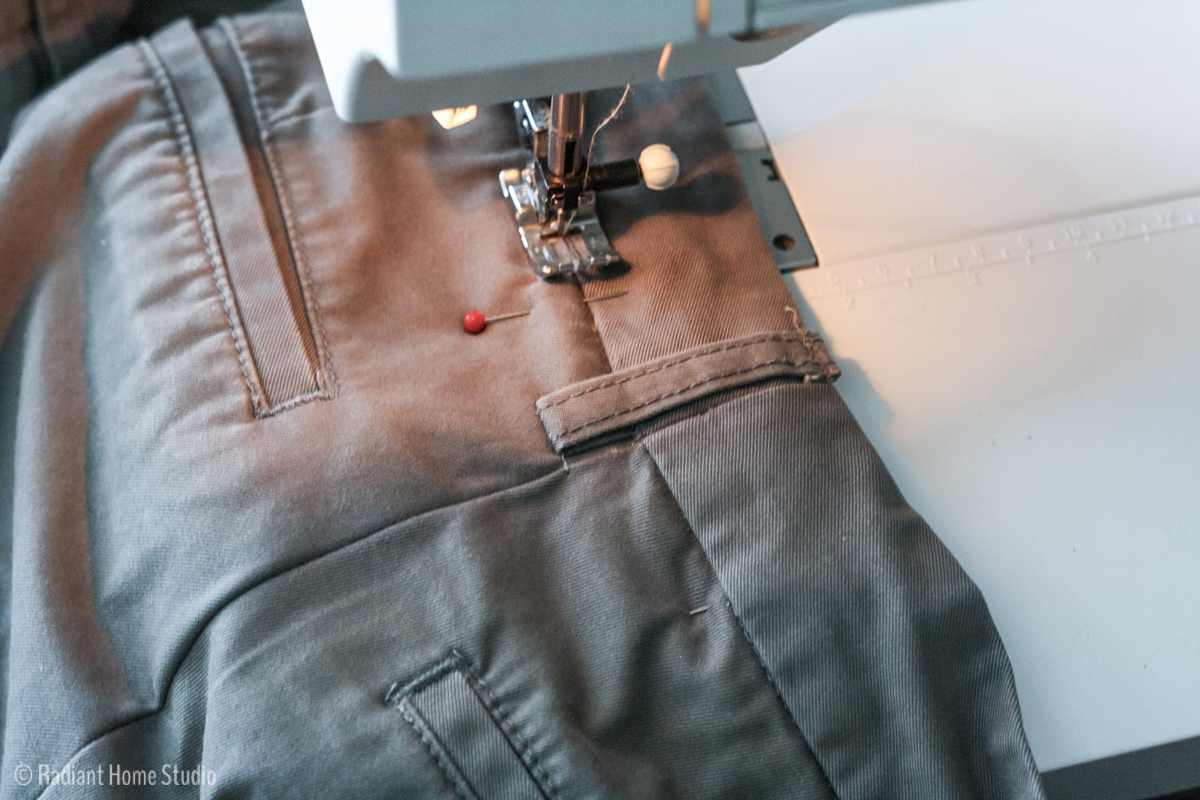
Then cut the thread and move the loop to the other side of the presser foot, and finish stitching.
The finished inside seam…
And the finished alteration from the outside…
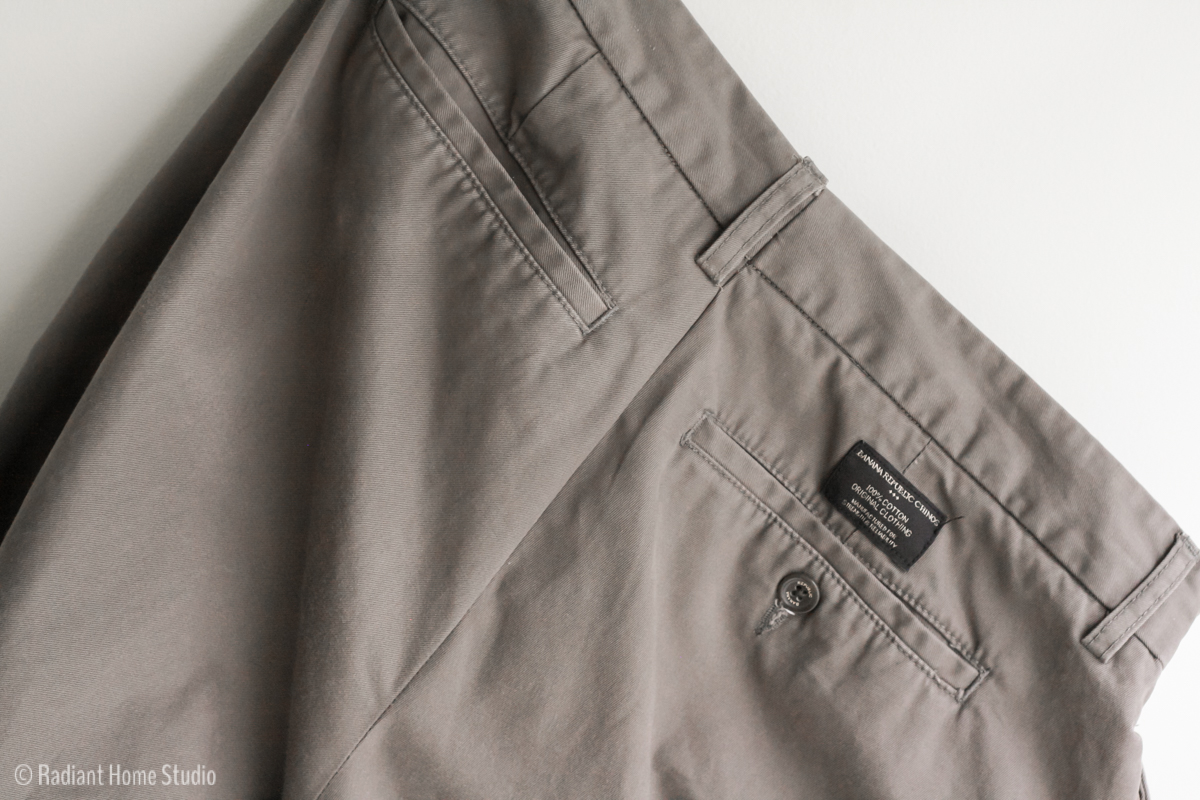
Scared to ruin perfectly good pants? Just practice on a thrift store pair. If it doesn't work out, cut them up and make some pants for your kids or a bag. If it does work out, your husband will thank you for saving him the tailoring fees or the cost of new pants.
Source: https://radianthomestudio.com/alter-waist-mens-pants/
0 Response to "Downsize Dress Pants From Size 36 to Slim Fit 32"
Post a Comment